Tuesday, 29 January 2019

Fairytale Unicorn Tag by Teresa Morgan


Hello Crafter's


So who's following the new challenges in our little Facebook group?? This month its a tough one challenge, create a small project in 20 min using at least 5 different products and 1 lucky winner will win £10 to spend on goodies from the website. All the details click here

So on to tonight's blog, when Teresa send me her project my first word were WOW, wow and wow. I love this, and our first sneak peak of our brand new flowers collections which will be available on the website in the next few days.....

The colours are amazing, so rich and I just love how Teresa has set out all the little embellishments, plus there's a new stencil which will be available very soon. 


All the products Teresa has used are listed below. 

So hows it made I hear you cry..... Over to Teresa to explain 


    Take the chipboard tag and apply modelling paste through the stencil using a palette knife, Allow to dry.


    Blend the magenta and purple acrylic paints over the surface and dry. 

    Stamp the net wire design randomly with clear embossing ink then heat emboss with Rose Gold embossing powder. 

    Add some gilding wax to the edges of the chipboard tag.


    Add extra texture and interest to the brand new paper flowers collection and gold hearts using metallic micro beads. 

    Apply a small amount of gel medium, sprinkle on the beads and allow to dry before shaking off any excess.


    Paint the MDF coin with turquoise acrylic paint and once dry, edge with gilding wax.

    Paint the unicorn with Violet Interference paint (this casts a opalescent sheen when the light catches it - hard to capture on the 
    photo). 

    Apply gilding wax to the unicorn's horn.


    Colour the lace flowers using alcohol inks and allow to dry.


    Snip out some of the brick design chipboard and paint black. 

    Once dry, apply gilding wax all over


    Heat emboss the chipboard word using two coats of Rose Gold embossing powder.


    Assemble the finished piece using heavy gel medium to adhere the embellishments. 

    Begin with the chipboard brickwork, then add some flat metal embellishments. 

    Arrange the hearts and flowers on top and finish with some pearl beads and sparkle gems.


    Thanks Teresa 

    If you have any questions about this or any project on the blog please do ask, we are more than happy to help.

    Please leave a lovely comment to support our designers and thanks for looking.

    For more projects for Teresa please check out her blog http://thefatcactus.co.uk and You Tube Channel https://www.youtube.com/channel/UChNbVhMz7jX66gevhKgz5Ig/feed 

    Thanks Jules xx

    Products used from Artful Days

    Stencil - geometric flower (coming soon)
    Box of Blue Paper Flowers (coming soon)
    Bronze Circle Frame with Tree Glass Cabochon (I used a pink one, linked to  blue one in shop)

    (from Stash)
    DecoArt Media Fluid Acrylics: Dioxazine Purple, Quinacridone Magenta, Cobalt Turquoise Hue, Interference Violet
    DecoArt Crafter's Acrylic - Black
    Pebeo Gesso - White
    Pebeo Gilding Wax - Empire Gold
    WOW Powders Embossing Powder - Rose Gold
    DecoArt Media Heavy Gel Medium
    Ranger Alcohol Inks - Raspberry, Purple Twilight

    Tuesday, 22 January 2019

    Easter Spring Heart Decorations by Katie


    Good evening crafters 

    Well mid Jan, its dark and cold so what better than to zoom forward to spring and inject some pretty Easter colour into our lifes. 


    That's what Katie has done for us tonight, with a quintuple of colourful hearts. These could also be used as a Valentines gift for someone special. 

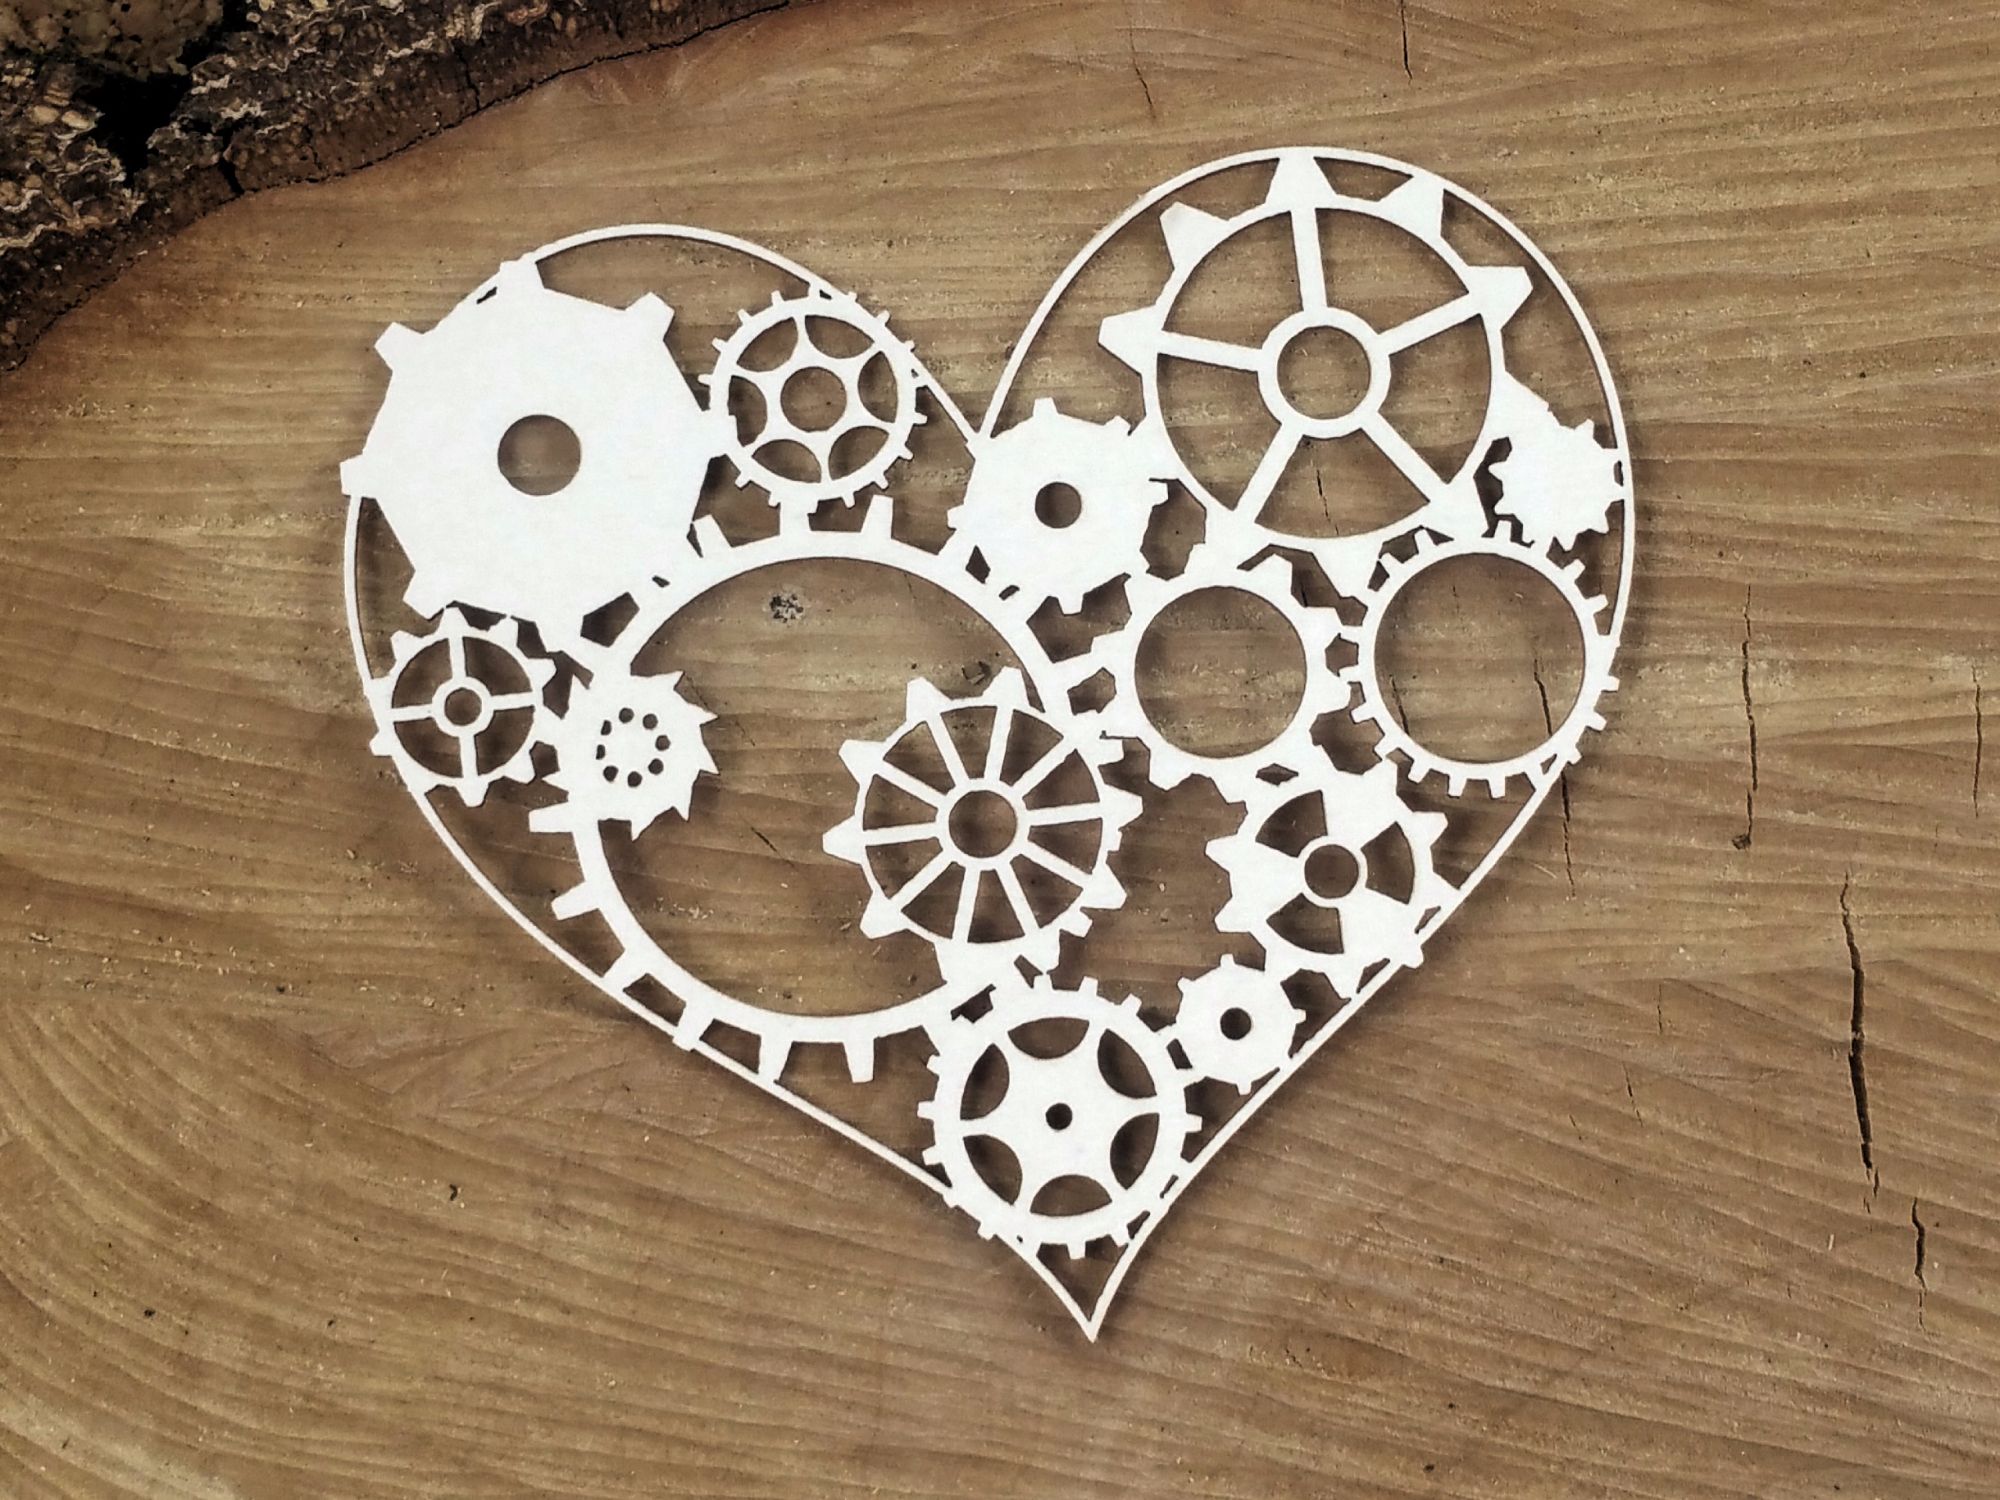
    As an alternative for the heart base, you could use one of the chipboard hearts from Scrapiniec Steampunk-Flying-Gear-Heart-4756


    Paint the hearts with gesso and then texture sand paste.

    Paint them with pastel colours.


    Glue Sisal onto a few of the hearts and decorate with paper and silk flowers.

    Add a few small glitter Easter Eggs, if they are intended for Easter, or small hearts would be a good alternative.

    Paint small resin birds with matching metallic paint and adhere to hearts. 

    Add Art Balls around hearts.


    Thanks Katie :)

    If you have any questions about this or any project on the blog please do ask, we are more than happy to help.

    If you would like to see more of Katie's projects, please check out her blog https://whatkatiedid2.blogspot.co.uk/

    Thursday, 17 January 2019

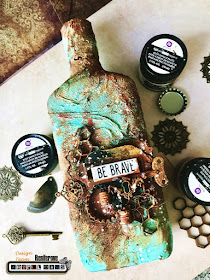
    Rusty Bottle by Reniferove


    Evening all, 

    How many people have decorated a bottle yet? 
    My collection to alter is building steadily and its good to find different shapes and sizes, charity shops, car boots sales are a great source. But why not take a tip from Reniferove and use old alcohol bottles or really any kind of glass bottle, pop, ketchup, milk bottles. Open your cupboards bet there's something you can find to use, and hey you are recycling right :)

    All the products used from our website are linked at the bottom of the blog. 


    Welcome! After Christmas and New Year's Eve, I had a lot of alcohol bottles left. So I decided to change one of them into something a little more interesting. 


    The whole bottle was covered with gauze and with White Crackle paste from Prima Marketing. 

    The next step was painting the bottle with turquoise paint and arranging the composition with metal elements. 

    I used here metal rosettes, Jules honeycomb MDF, key, resin castings and small bulbs, which are definitely my favourite addition. 


    My bottle was begging for a bit of rust, so I used rust-based polishes from Finnabair. I splattered the white gesso and my wonderful bottle is ready.


    Thanks Reniferove 

    If you have any questions about this or any project on the blog please do ask, we are more than happy to help.

    Please leave a lovely comment to support our designers and thanks for looking.

    For more projects for Reniferove please click on the links below 

    Tuesday, 15 January 2019

    Vintage Valentine Project By Teresa Morgan


    Hello lovely bloggers

    We are back from our Christmas/New Years break and the design Design have been working very hard to break you more stunning designs and inspiration on using all your Artful Days goodies.

    Teresa's been feeling the love with this amazing Vintage vibe Valentines day canvas and is sharing the video process with us all tonight... even I haven't seen it yet, so very excited :)

    As always the details on all the products used are at the end of the blog:)


    Extra Details 


    Thanks Teresa 

    If you have any questions about this or any project on the blog please do ask, we are more than happy to help.

    Please leave a lovely comment to support our designers and thanks for looking.

    For more projects for Teresa please check out her blog http://thefatcactus.co.uk and You Tube Channel https://www.youtube.com/channel/UChNbVhMz7jX66gevhKgz5Ig/feed 

    Thanks Jules xx