Hello Crafter's
Whilst I am typing this it's very white outside, really gets you in the mood for a bit of Christmas crafting, and luckily we have just the blog for you lol x
Tonight we have the very talented Katie on the blog to show us her fab make with the November Box " It's Christmas Boxed up"


Hello Katie here, I started crafting about 12 years ago as I needed somewhere to store my photos and wanted to include a bit more about them so started scrapbooking. I got into mixed media about 3 years ago after seeing it in a magazine and have been hooked on paints & inks ever since then.
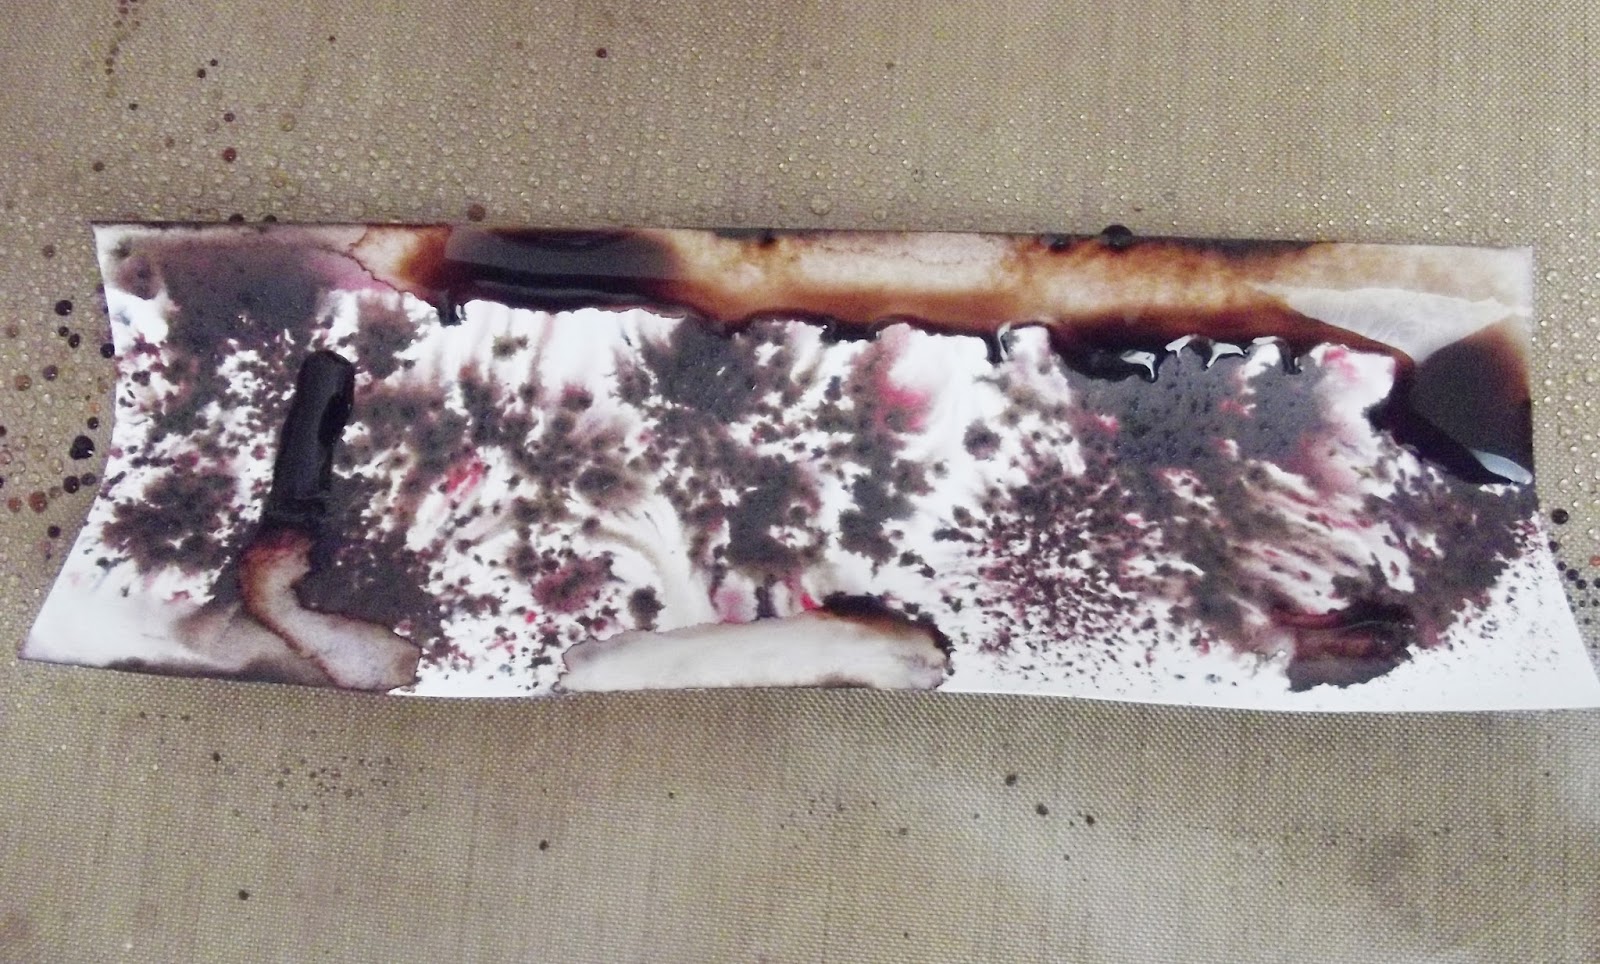
Christmas Crackle Reindeer card


Take a 6 x 6 sheet of paper and tear around the edges. Don't worry about being neat as this adds texture. Adhere this onto one of the embossed card blanks.


Cut a 3 x 5 rectangle and adhere over the strip

Take the other half of the doily and place it over the larger rectangle.
Cut another smaller rectangle and place this over the larger one.


Cut a strip 2 x 4 and place across the center of the card.


Decorate the card by clustering the
poinsettia and berries around the card. Finish off by adding a sentiment topper.


Thanks Katie, I love the cracked reindeer and the composition of this card, beautiful.
Katie's blog is http://whatkatiedid2.blogspot.co.uk/
If you are interested in the November goodie box, we still have a couple left, just click the link below to go to the page.
Katie's blog is http://whatkatiedid2.blogspot.co.uk/
If you are interested in the November goodie box, we still have a couple left, just click the link below to go to the page.
Thanks for looking and please leave a nice comment.
Jules xx