Hello, hope your all well, just one more day to go to the weekend woohoo:)
Tonight Chris is back with 3 stunning projects from the July Box, all the information on the box is on the website please click here for details.
Hi everyone,
Chris here again to show you another three of the projects I was able to make with the delicious contents of the July Goodie box. And I have still have so much left!
First up is a mini wall hanging that could also be used to decorate a box lid or a journal cover. I'm possibly going to adhere it to the front of a family photo album I'm making for my husband but shhhh he doesn't know about it yet!
Mini Tag
Using a small Tando tag for a surface, after first gessoing the surface, I coloured it completely with the Aged Mahogany Distress pen. Those pens brush the ink on so easily and smoothly. I then ripped some of the vintage dictionary paper included in the box (you get several sheets) to almost cover the surface; then distressed, rolled and inked the edges, all the way round. I love this technique of ageing paper.
On top, I adhered a piece of the rose print fabric (what a find!!! I love this) centrally to allow some of the distressed dictionary text to show at the top and bottom. I then added some of the vintage lace either side of this. You get some wonderful metal embellishments included in the box.
I used the large circle with edged hearts to frame one of the 'Found Relatives' photo (Tim Holtz) which I had die cut to fit the frame. Each box has a lovely selection of these photo cards. Now it was just a matter of adding embellishments to complete the vintage 'feel' to the project. I cut one of the embroidered butterflies in half (you get two of these in a pack) to place behind the metal frame. I used some of the frayed edging from the rose print fabric to wrap around one of the darling little cotton reels you get in the box. Isn't it so sweet? You get four of those. Two are slightly larger. Another clever 'find' of Julie's. Then it was just a case of adding some of the buttons, gems and flowers to add interest. You get a huge amount of buttons! I even used one attached to the string for hanging it up. By the way, that string was part of the packaging which I coloured with the Distress pen!
Vintage Card
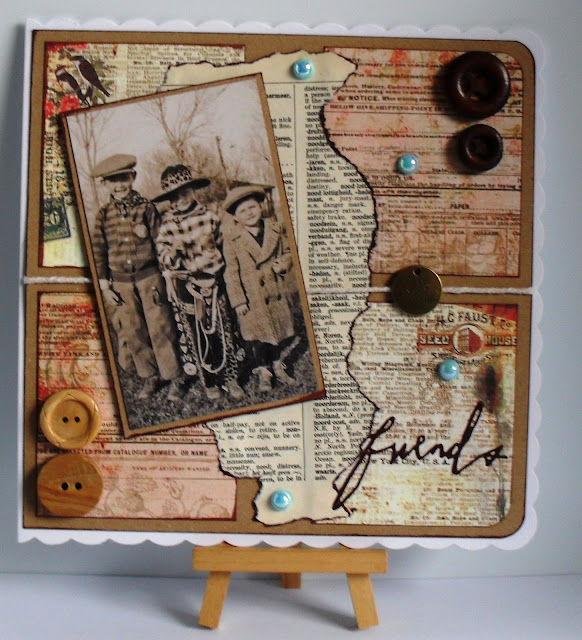
Here you can see more of that coloured string wrapped around this mini greetings card. I've made this for a friend's 35th wedding anniversary! This 'Vintage' theme has been very useful and relevant for me!
The contents are really wonderful for any wedding, christening, engagement occasions you have lined up. Sadly, quite relevant too for the hardest to make cards of all: funeral cards. Of course, if you can waIt that long, this box would be great for Valentine's day! This time I used some of the vintage music sheets included in the box. Distressing and colouring the edges as before.
The only item I've added here us the 4" x 4" Kraft card. Even the letters have been cut from one of the several, adorable Prima cards in the box.
Butterfly Card
And finally, at least for now, is a birthday card I've made for a friend. Included in this wonderful box, are two huge die cut butterflies (in the freebie bag). They are beautifully embossed! This is one of only two times I added a mini Ranger Distress ink in Vintage Photo with the Distress pen included in the box. This is because I wanted to vary the depth of colour on the butterfly.
The background was created using the latticework stencil by Tim Holtz and using a foam pad to lift ink from the brush pen that had first been scribbled on the craft mat. I could have just used my own distress ink pad in the same colour but I wanted to experiment with the pen and see just what effects I could achieve. And, I like it! This was stencilled on top of a gessoed background where I had also added strips of the dictionary paper for added texture.
To complete the butterfly, I needed to just add another of the gorgeous metal embellishments and some of those pretty pink rose gems included in the box to complete its body. Then, by adding a couple of the paper flowers (after tingling the edges with the Distress pen) with another little gem, and creating a border with the fine nib of the pen, the card was finished!
I hope you like these examples of just a few items you can make with the contents. I will be making more as I delve deeper into this wonderful Goodie box. Until next time!
I have to say I love all these designs and way Chris has used the bronze embellishment with the pearls to create the body of the butterfly, very inspiring.
Thanks for looking and I hope you can leave a nice comment.
Jules xx


