Search This Blog

Sunday, 4 February 2018

Full of Love Canvas By Sandra Van Mourik


Evening Crafter's 

Sandra is here to show us that Valentines Day doesn't always have to be a significant other, it can be for any of out loved ones.....
This is one of Sandra's cute little daughters looking very happy in her Minnie Mouse top.


  • Paint your canvas with white gesso, and let it completely dry
  • Add texture paste through the stencil and spritz with a red spray.
  • Take your picture as a focal point in the lower right corner and add several embellishments and flowers. Tuck some behind your picture and layer on top of the picture for more interest.
  • To add balance in your layout, add a metal corner, a heart and a few flowers clustered in the upper left corner.
  • Once everything is dry, add some liquid pearls in red and white all over the canvas.


Shopping List


Bronze & Silver Filigree Butterflies (C003)

Copper Filigree Corners (C012)
This is really cute and a fab keepsake, love her little top matches the canvas.
Thanks Sandra 


We would love it if you can leave a comment to support our designers.


More can be seen from Sandra on her blog http://crea-sandra.blogspot.com 

Thank you for looking 

Jules xxx

Wednesday, 31 January 2018

Steampunk Altered Clipboard by Katie Lamb


Hi Crafters,
                                                  
Tonight Katie is back with a Steampunk altered clipboard again using one of the Resin Faces. If like me you love anything steampunk, this one is for you. 


  • Coat the clipboard in black gesso and then glue down all the embellishments onto the centre of the board. 
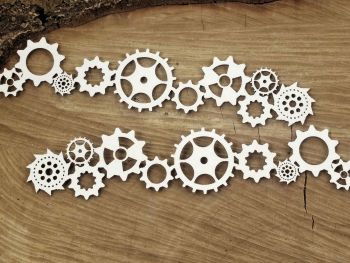
  • Cut the cog boarders in half and glue to base.
  • Cover the embellishments with black gesso and then paint with rust pastes.
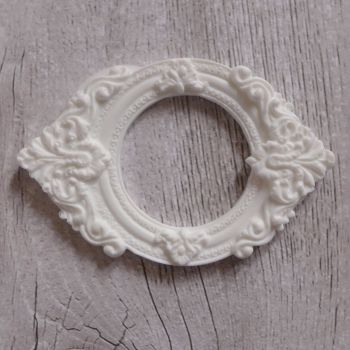
  • To create the central piece, Stick a small face inside a resin frame and add paint.
  • once everything has set, Dry brush the whole thing with turquoise 
  • use gel medium to add micro beads and glass sprinkles.
  • Finish off by adding a metal charm.


Shopping List

White Resin Frame (R7006)
White Resin Frame

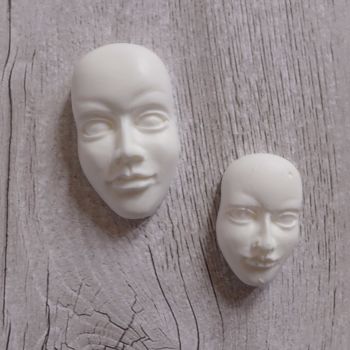
White Resin Faces (R7004)
White Resin Faces
Feb Extra ~ Clip Board
Clip Board
October Extra ~ 6 Wooden cogs & gears
Gears and Cogs
Steampunk Flying Hearts - Boarders (4749)
Scrapiniec Steampunk Flying Hearts Boarders

New Product

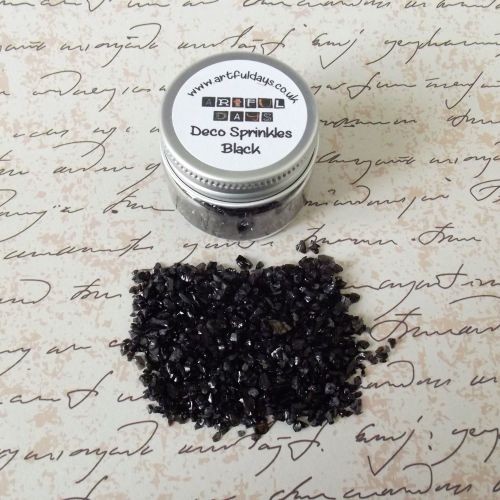
Artful Days Deco Sprinkles ~ Black


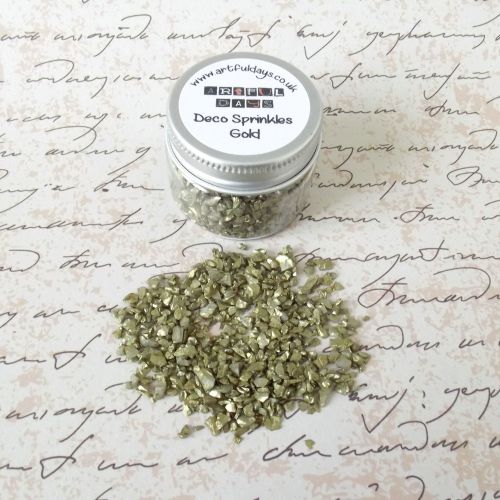
Artful Days Deco Sprinkles - Gold

Artful Days Deco Sprinkles - Gold


Prima Art Extravagance ~ Rust Paste Set

Prima Art Extravagance ~ Rust Paste Set


If you would like to see more of Katie's projects, please check out her blog https://whatkatiedid2.blogspot.co.uk/

We would love you to support our designers and leave a lovely comment.

Thanks 

Jules xx


Monday, 29 January 2018

Goddess of Time Canvas by Katie Lamb


Evening Crafters 

Another week is upon us, hope you had a fabulous weekend.  


Katie has been working on a very intriguing canvas, using a huge mix of stash from the shop.


  • I started off by painting the base with black gesso and then sticking down all the embellishments and then painting it again with black gesso.
  • The focal point was made by gluing a resin face to the metal frame and then sticking that to a mdf spoon.
  • once the first layer was done i then painted the main pieces with white gesso and then spritzed the centre of the canvas with copper and scarlet sprays before spraying violet over the rest of the canvas.
  • I added the micro beads and glass chips using gel medium
  • I painted the word with the rust paste so it would stand out.


Shopping List


Click to view on website 

Wow, what an amazing canvas, so much detail to look at. Thanks Katie.

If you would like to see more of Katie's projects, please check out her blog https://whatkatiedid2.blogspot.co.uk/

We would love you to support our designers and leave a lovely comment.

Thanks 

Jules xx


Sunday, 28 January 2018

Cascading Mini Album From Teresa Morgan


Hello Crafter's


So what have you been up to so far this year??

Whilst we have been loading stocks and making some improvements to the website, Teresa has been very busy making a You Tube Video with an amazing cascading album, of course using some of the goodies from the Treasure Trove.


Please see below to what's been used from the shop and the links to them, if you would like to give this ago.

Wide Ink Bottles Washi Tape 
Pen Nibs
Resin Steampunk Heart
7 Dots Studio Papers from the Extra
Scrapiniec Capture The Moment Chipboard 
Bronze Barcodes 
Mini blend Tool


Very clever project, thanks Teresa.

We would love it if you can leave a comment to support our designers.


For more projects for Teresa please check out her blog http://thefatcactus.co.uk and You Tube Channel https://www.youtube.com/channel/UChNbVhMz7jX66gevhKgz5Ig/feed 

Thank you for looking 

Jules xxx


Thursday, 23 November 2017

Christmas Paper Mache Door-hanger by Sandra


Evening Crafter's 

Well the weekend is nearly upon us again, and excitingly its Black Friday tomorrow, so that's means there's quite a few bargains to be had on lots of things previously not seen on the website - This is available NOW!! Just click on the link below.


Sandra is back with her final blog post using the November Goodie Box, bless her, working with a poorly hand as well. Get well soon :)


  • Paint your papermache hanger with white gesso
  • After drying, ink the edges with dark brown ink.


  • Cover one of the wooden stags and the Scrapiniec Christmas Sketch decors with embossing ink and heat emboss it with brown glittery embossing powder.
  • Add a piece of hessian and lace ribbon vertically in the centre of the door-hanger.

  • Glue the embossed chipboard swirls in the upper left and lower right corner, and the stag in the centre.
  • Thread some light bulbs from the Christmas Lights tin on some thread and put them between the stag's antlers.
  • Take three resin stars from the Resin stars and stag and use some brown ink on them. Adhere them on your hanger. Finish off your hanger with an Elk glass dome.


Wow I love this door hanger, I haven't tried heat embossing Scrapiniec chipboard before. but I certainly will now.

We would love it if you can leave a comment to support our designers.


More can be seen from Sandra on her blog http://crea-sandra.blogspot.com 

Thank you for looking 

Jules xxx