
Hello Crafter's
This week we have Guest Designer Catherine on board to show you her fantastic makes with the October Steampunk goodie box.
I've been crafting for about 12 years on and off but obsessively for about 6 years. About 4 years ago I started dabbling in mixed media and now can't seem to do anything without getting six hundred things out to add to my creations. I still love clean and simple but increasingly my artwork is become more layered and textured and paint is replacing ink more often now. I love my creative time where I can explore colour, texture and pretty things!
I've been crafting for about 12 years on and off but obsessively for about 6 years. About 4 years ago I started dabbling in mixed media and now can't seem to do anything without getting six hundred things out to add to my creations. I still love clean and simple but increasingly my artwork is become more layered and textured and paint is replacing ink more often now. I love my creative time where I can explore colour, texture and pretty things!


CHRISTMAS TREE CANVAS
Hello all... Catherine here from Inkyfingeredcat. I have a Christmas tree canvas that I made using the fabulous steampunk goodies in this months box.
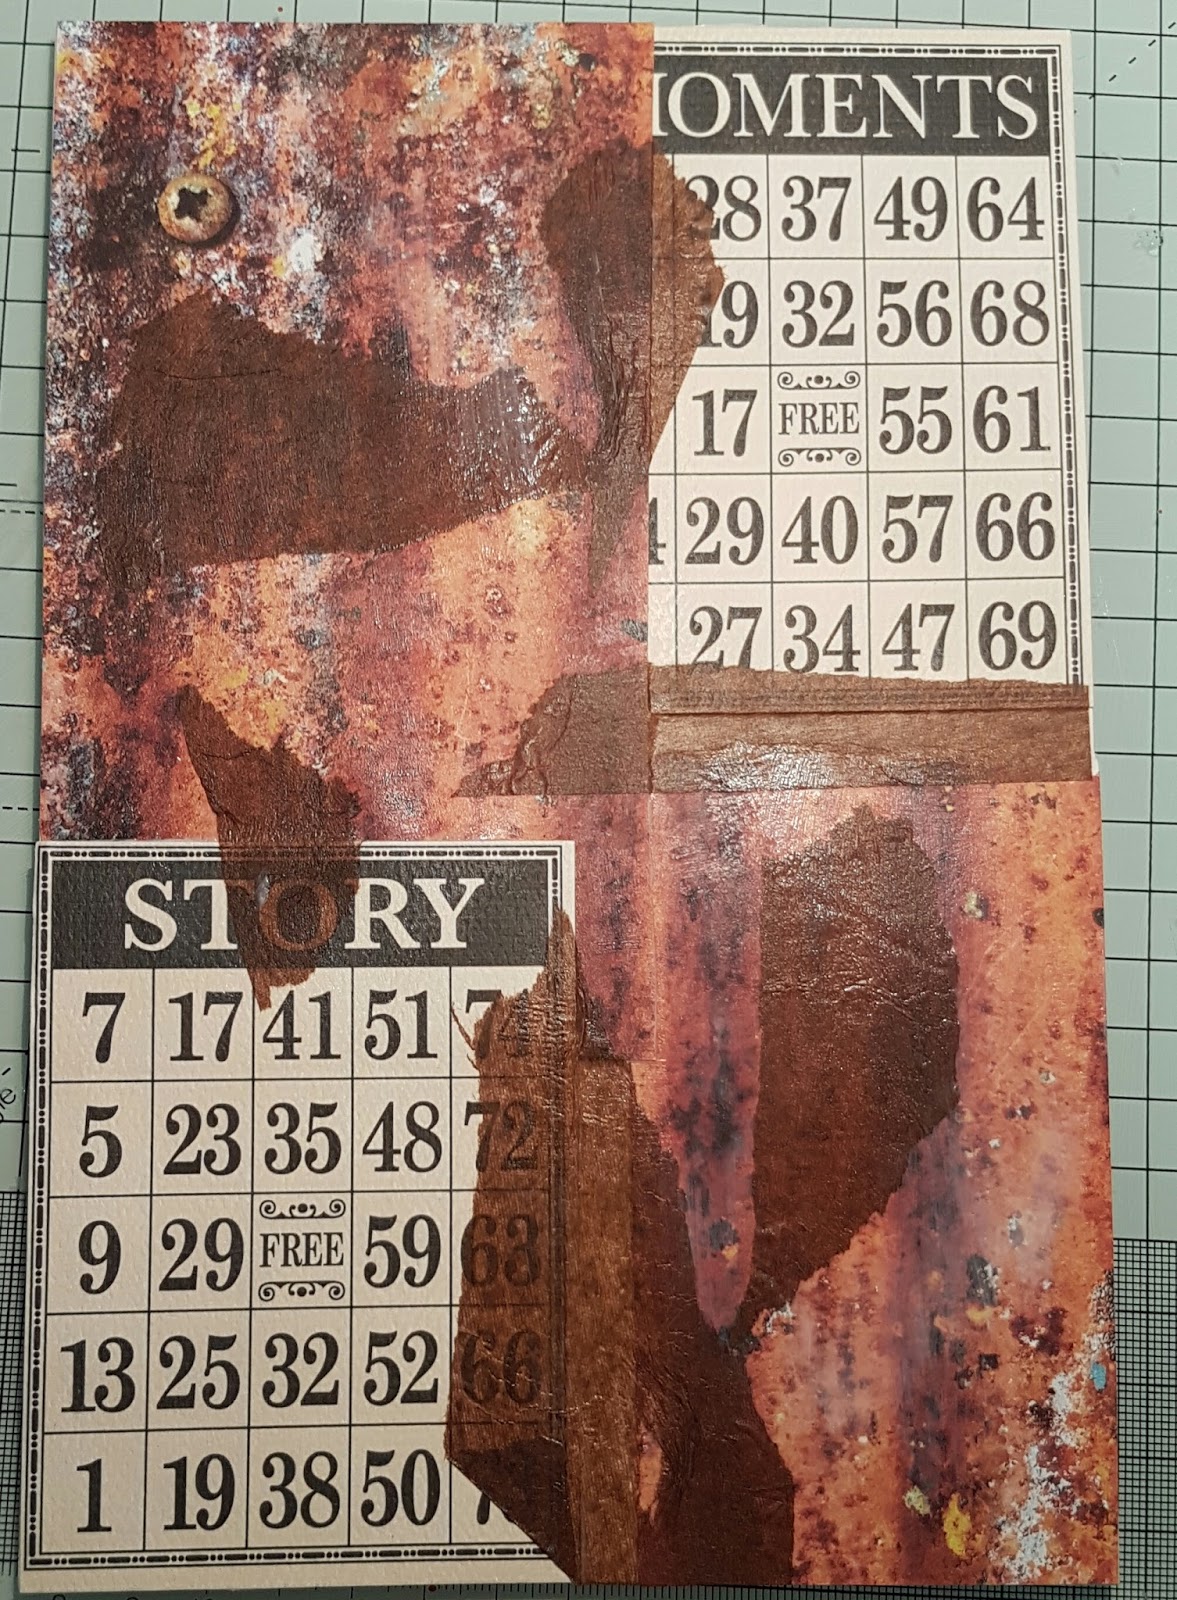
I started with a canvas board and added papers, some of the bingo cards and tissue paper from the packaging to coat the base.
I then added paints in yellows and oranges to blend them together.


Next I added some of the Bistre powder and water to darken down the background. I've never used bistre before so must admit it was nice to try it out even if at this point the effect wasn't quite what I wanted.

Next I set about cutting up papers to make the tree shape. I was inspired by some folk art trees I had seen and wanted it to look quite abstract knowing I was going to then construct the embellishments on top to ''dress" the tree.

So by the time I took this picture I had managed to put together the trunk from the zip, some tinsel and trim with the ribbon and string and a few embellishments. I had also added some shading with Inktense pencils. I had also decided blue was the contrast colour to use and stapled the pieces together with some blue staples. I had also decided to let the tree stand out more I needed to add some cream paint around the edge of the tree to balance it a bit more.
Now the really fun bit adding loads more embellishments.


I used the fabulous metal cogs and the gorgeous blue gems to continue to dress the tree. I also added some blue mica to the wooden cogs and some glass glitter ... after all a Christmas tree needs bling!
I also added more bistre to the edge and some more Inktense pencil shading to ensure it was all defined. I finished off with a little bit of the pearlescent paint flicked across the whole canvas to give some lovely flecks glimmer.


Really pleased with how this turned out and at how I have barely made a dent in the Goodie box... which means plenty more projects to be made!
Catherine x
Wow, what a fantasic and creative project, thank you Catherine. If you love this then check out Catherine's blog https://catiecuddles.wordpress.com
Thanks for looking and please leave a nice comment
Jules xx
No comments:
Post a Comment